

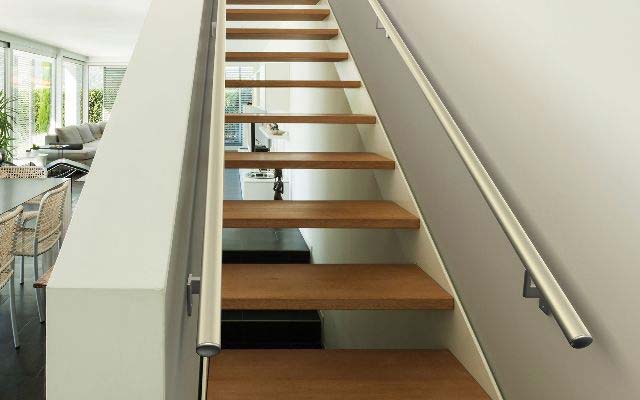
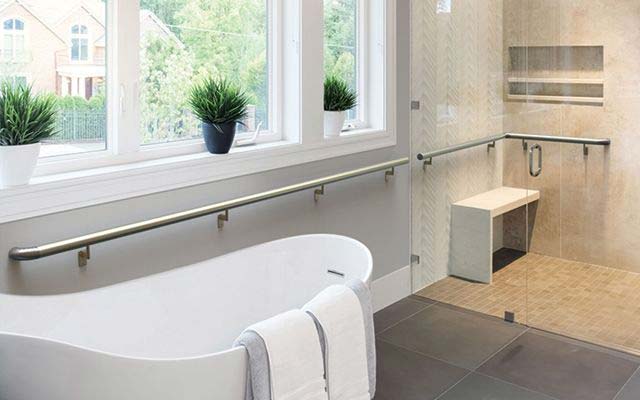
Promenaid handrails are a stylish addition to any home or business. They balance smart sophistication with everyday functionality and add refinement that extends throughout the house, from walkways to stairways to baths and showers. Promenaid satin-anodised aluminium handrails are available in Satin Black or Champagne Silver to complement both modern and traditional décor.
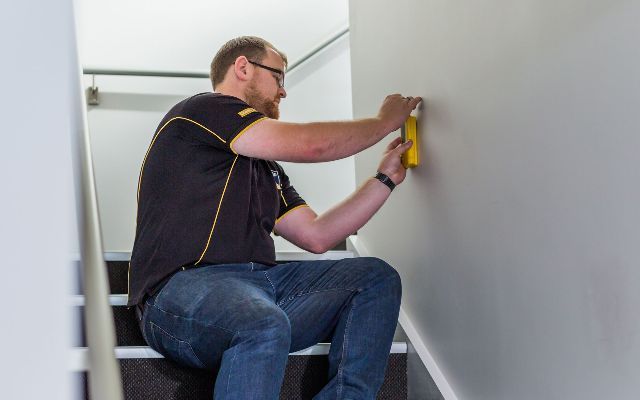
Use a stud finder to mark studs - this should be at every 600mm, however this may vary depending on the building. Then measure 900-1000m from the floor and mark the height on the wall with a builders pencil - this is where the top of the Handrail will be.
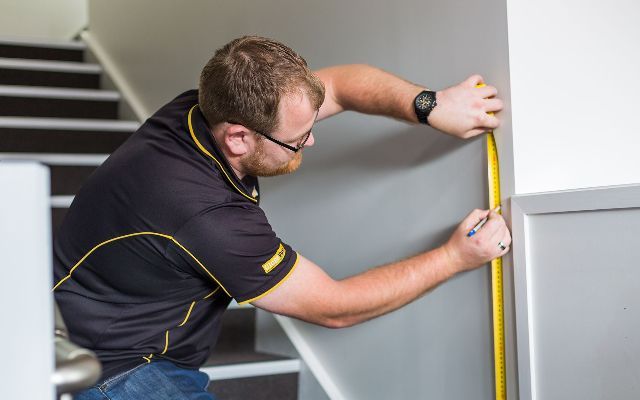
Starting with the first stud at the bottom of the stairs, use a measuring tape to measure the first Handrail length required and cut the rails down accordingly. You will need to add an extra 150mm of Handrail length after the first and last step of your staircase.
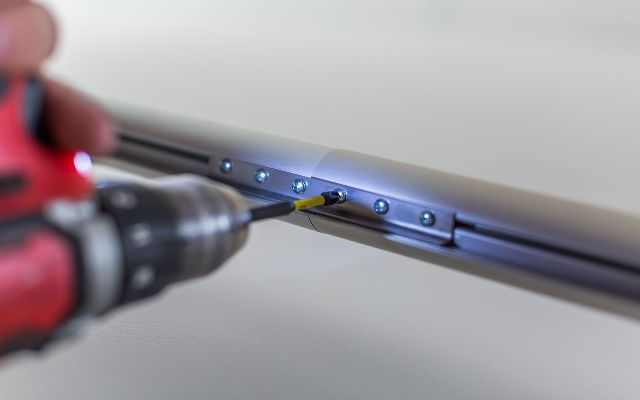
If you find the Handrail length is not sufficient, use the splice to connect two rails together. To do this, simply slide half the splice into each channel of the rails and fix using the screws supplied. There should be three screws that go into each rail. You will need to remove the rubber inserts in the channels of the rails.
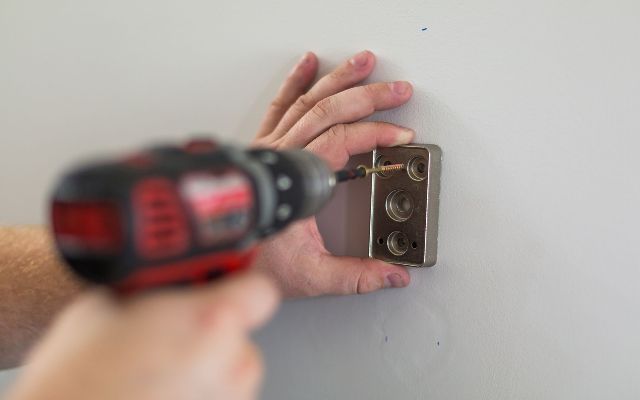
Measure 140mm from below the mark. This will be the spot where you fix the bottom screw of the Spacer, included with the L Brackets. There are two options to fix the Spacer: A) Attach the Spacer to the wall with long screws and then attach the L Bracket to the wall with short screws. B) Or, use it like a shim, with the long screws only, passing through both the Bracket and the Spacer.
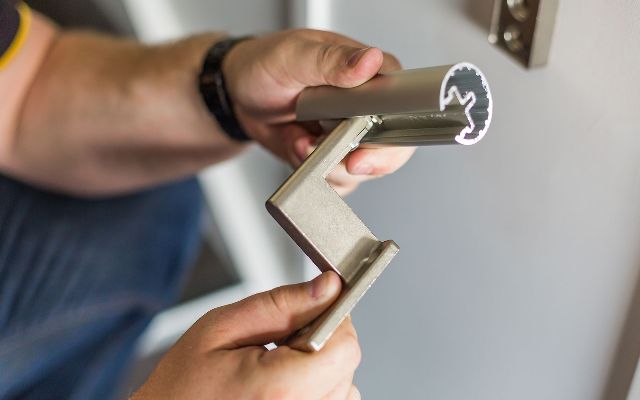
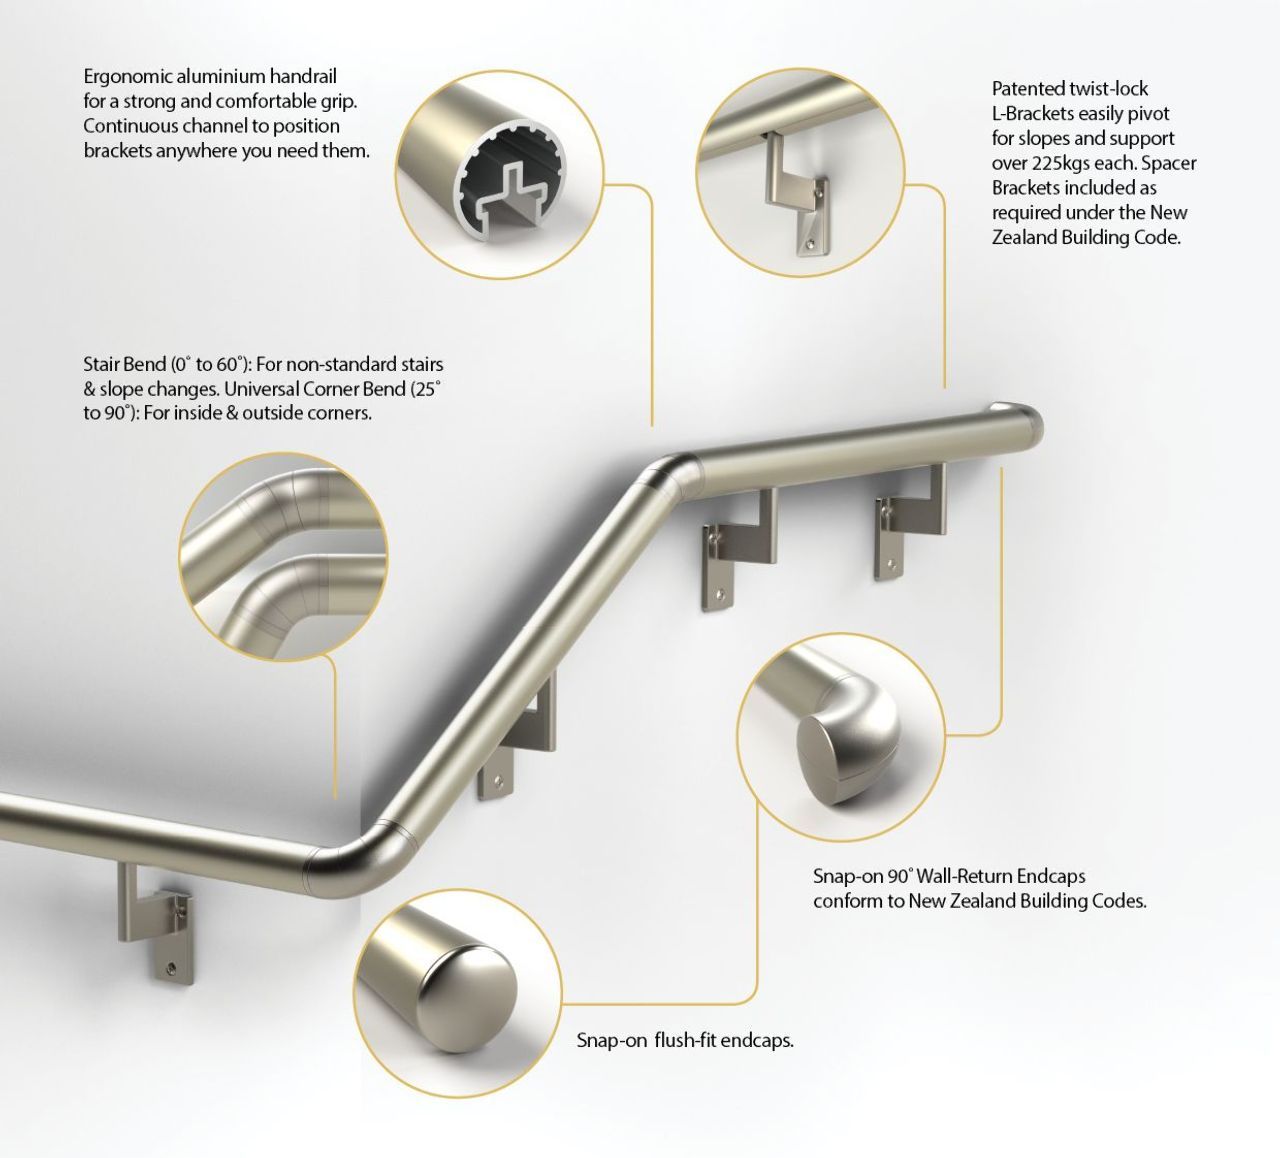
At one end of the Handrail, attach the L Bracket to the channel of the Handrail by sliding the head of the Bracket and then locking it in with a 90 degree twist. To pivot the L Bracket, simply tilt the head of the L Bracket to the angle required.
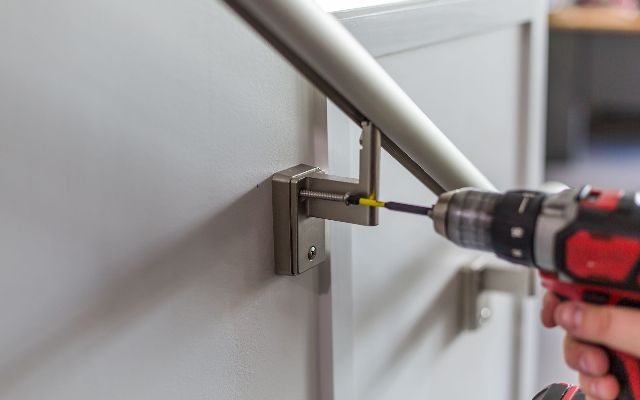
Fix the L Bracket and Handrail onto the wall using the long screws supplied. Then install another Bracket at the other end of the Handrail using the same method. Once both ends are secured, install additional L Brackets at 600mm centres.
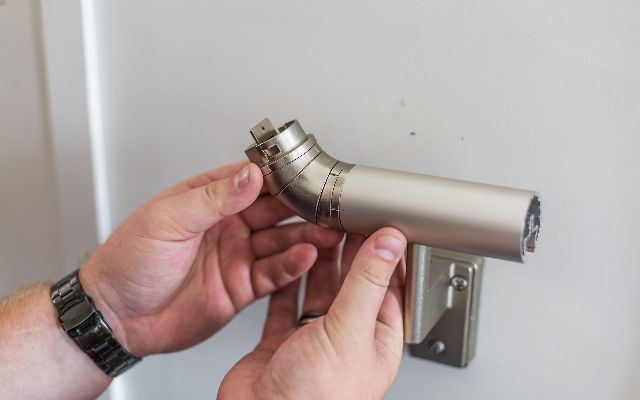
For corner or stair bends, use our Universal Corners or Bends. To adjust the angle of the Universal Corner, rotate the three sections and ensure that the centre lines of the two outer sections are aligned to create a smooth and symmetrical bend. Then connect the bend to the two Handrails and fix it using the screws supplied.
Repeat Steps 1-7 for the rest of the handrail.
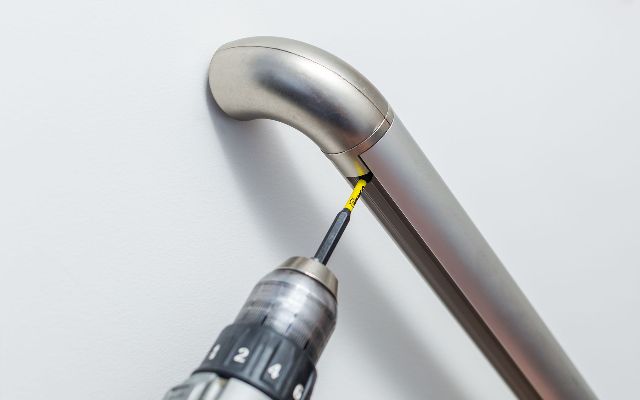
Attach flush Endcaps or Wall Returns to the ends of the rails before fixing them with the screws supplied. If you need to adjust the direction of Wall Returns, simply separate the two end pieces using a screwdriver, then turn the pieces around to the desired direction and click them back into place.
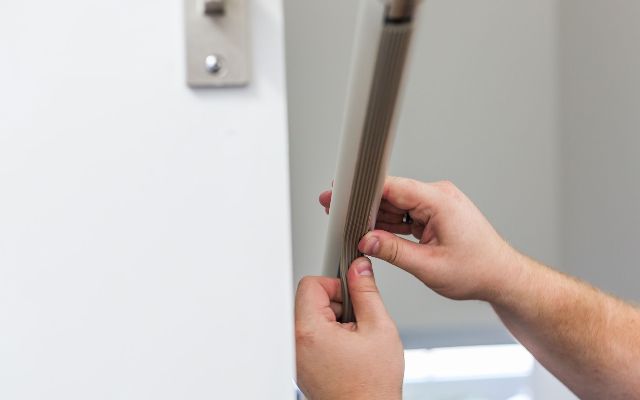
Finally, to install the rubber vinyl inserts, measure the channel between the Brackets, Bends and Endcaps. Then, using a knife, cut the inserts to size. Clip the vinyl into place a few centimetres at a time, alternating from side to side until flush. For larger projects, use a hair dryer to warm the vinyl up slightly before fitting it into the Handrail.